Photographing Birds in Flight – Tips for Bird Photography
Birds in Flight Photography
Photographing birds in flight can be challenging, the failure rate can be high, but the rewards of nailing a shot makes it all worth it.
In one of the best books on bird photography: ‘The Handbook of Bird Photography‘ They divide images of flight into:
1. Frozen – Completely or as good as
2. Motion blur
– In Wings
– In birds and background (panning)
3. Everything out of focus
1. Freezing Movement of Birds in Flight
To freeze the movement of a flying bird either completely or with only minor blur you’re going to need to shoot with high shutter speeds. How high depends on the speed of the bird and how rapid its wing movements are.
The easiest birds to photograph in flight are slow flying species such as swans, herons and gliding raptors. Generally speaking, the larger the bird, the slower its flight and wing movements. The most difficult birds to capture pin sharp in flight are small passerines (songbirds) and hirundines like swallows and sand martins.
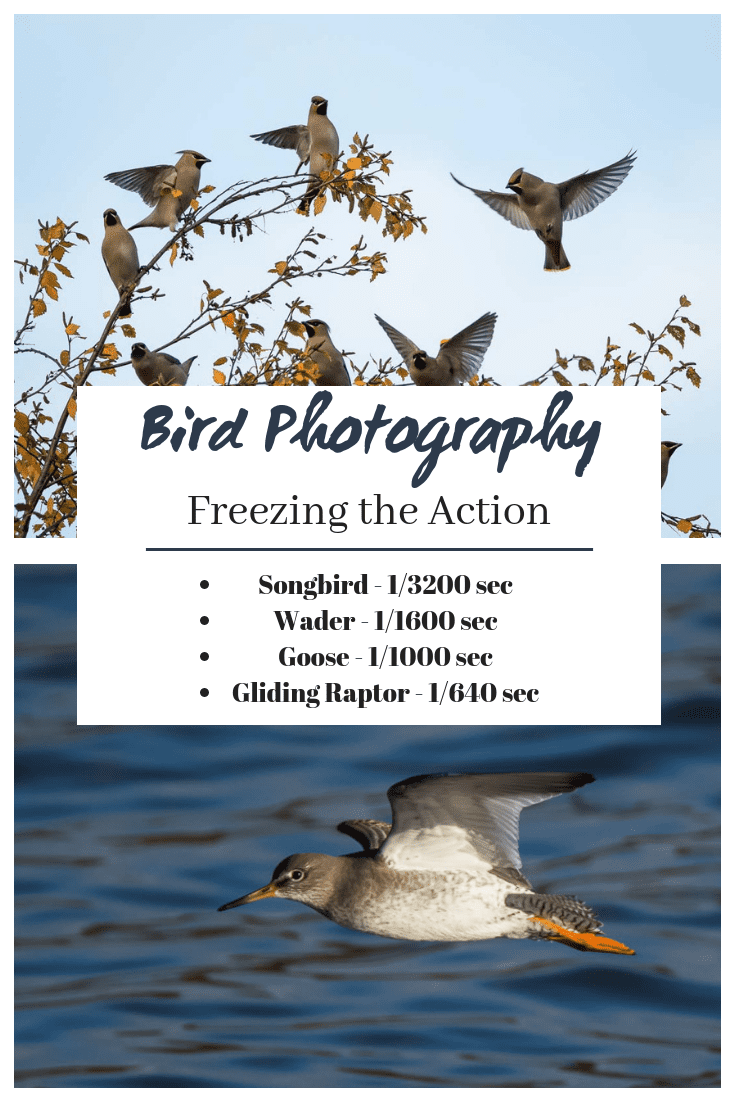
Waxwings, Scotland – Canon 7D ii, 375mm 1/1600 sec, f5.6, ISO 640
High shutter speeds are usually followed by a high ISO so depending on the light available to you on the day, you want to make sure that your camera is up for the task and doesn’t introduce too much noise with high ISO.
Type of bird and approximate shutter speeds needed to freeze movement.
Small fast flying songbird – 1/3200 second
Medium sized bird lapwing – 1/1600 second
Flying goose – 1/1000 second
Large circling bird of prey – 1/640 second
These figures are from research and personal experience and can vary depending on the behaviour of the bird.
A photo of a fast flying bird completely frozen, however, might look a bit artificial which is why you might consider a slower shutter speed to get some motion blur in the image.
2. Motion Blur of Birds in Flight
To show movement in a photo we can use a slower shutter speed to make parts of the image blurry. Furthermore we can choose to only blur parts of the fast moving wings, or make the background and most of the bird blurry.
– Motion Blur in the Wings
Here, we need to have a fast enough shutter to freeze the body and head of the bird as well as the background, but a slow enough shutter to blur the wing beats.
Again, this will come down to the size of the bird, but also the rate at which it beats it’s wings. For a large bird like a swan this could be around 1/125 sec and for a small songbird this could be around 1/2000 (Jari Peltomaki, The Handbook of Bird Photography).
A problem you might run into here is that if you take a photo of a flying swan at 1/125 sec from the side, you will probably blur the whole bird as well. Unless you’re panning, but in which case you will blur your background as well.
Therefore, a good approach would be to capture the bird head on. With a continuous focus and high burst mode, you’ll hopefully achieve the desired effect in some of the photos. With larger birds you can often predict their take-off and landing – they tend to do so into the wind.
Large birds tend to take-off into the wind
With this knowledge you can pick a spot by a body off water with the wind in your back and at a time when the light will also be in your favour (wind and a low sun in your back).
– Motion blur in background and bird
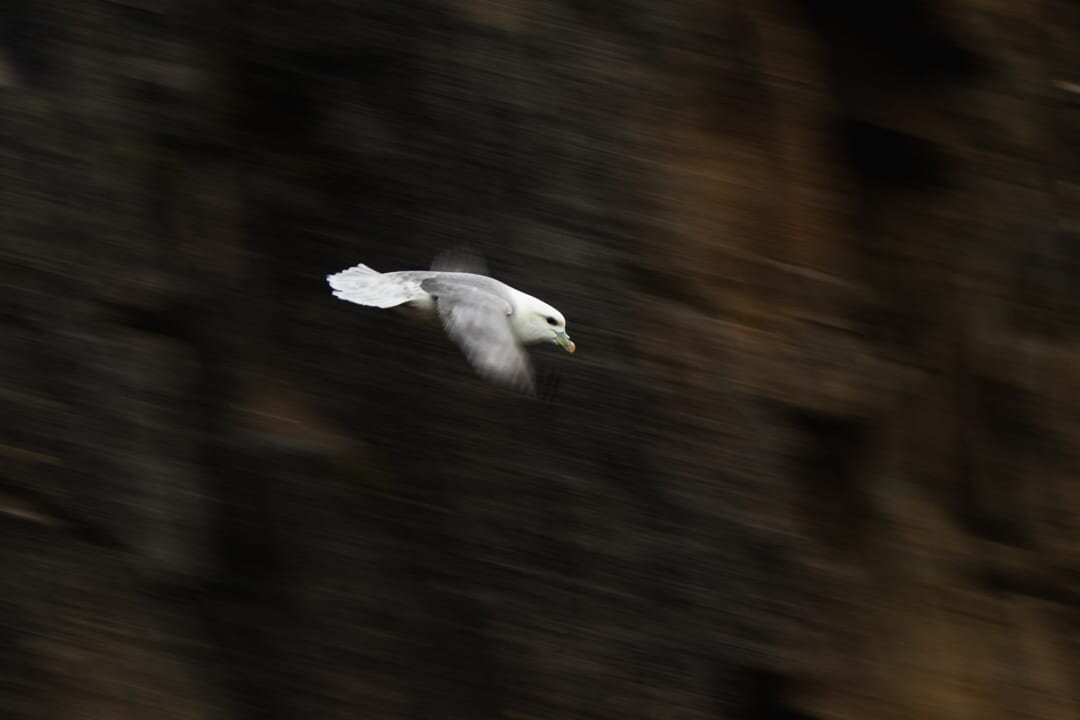
To create the effect of motion blur in the background and in most of the bird we need to pan our camera with the bird. This means that we need to follow a flying bird with our camera, continuously focusing on it while we take several shots with a slow shutter speed.
Getting that magical capture of a bird in flight with only its head sharp and everything else as motion blur is difficult, but the results can be breathtaking. Repetition and persistency is key. A low shutter is required, starting out at around 1/25 second and experimenting usually works for me.
Fulmar, Scotland – Panning with Canon 7D ii 300mm 1/80 sec, f5.6, ISO 500
3. Everything out of Focus – Birds in Flight
Photographing birds where everything is out of focus can be a fun experiment when the light is too low to get any sharp images. It can be a bit of a crap shoot, but really fun to try out!
Obviously thinking of composition, light and colours will help your end results. An uneven low number of subjects often work well such as 1, 3 and 5.
Curlews, Scotland – Canon 7D ii, 552mm, 1/4 sec, f11, ISO 500
Photographing birds in flight can be a challenge, but it’s worth putting the time in to perfect your technique. It also helps you to add variety to your portfolio and another a depth to your photography skills.


