


The new DxO PureRAW 6 is packed with features to improve and denoise RAW files. Now supports DeepPRIME XD3 for ORF OM System images! In this post I’ll share my process for using PR6 with Lightroom with high noise OM System examples!
For the last 3 years I’ve been using DxO PureRAW for denoising my OM System (ORF) images. In this post I’ll share my walkthrough for using the latest DxO PureRAW 6 as well as breakdown why I think this is the best PureRAW update for OM System users to date!
Check out my post on tips for photographing in low light and high ISO situations using OM System
Get a 15% discount on all DxO products by using my promo code: Espen 15
(The discount only applies for new users, or new emails used to sign up 😉
There are a few updates in PureRAW 6 that I’m extremely excited about as an OM System user. The new software features DeepPRIME XD3 for noise reduction and detail recovery of photos and it now supports Bayer and X-Trans sensor cameras. As OM System uses Bayer sensors it means that the Olympus Raw Files (ORF) are now supported and can take advantage of the very best denoising process of DxO PureRaw technology.
PureRAW 6 has introduced a new way of compressing DNG files with no loss in image quality up to 4 times the the standard for DNG files. A great tool for saving digital space.
Another feature introduced in PR6 is the AI sensor dust removal tool. A feature that automatically detects and removes those annoying dust spots that may smudge our images.
Read more about the new features in DxO PureRAW 6 on their website and don’t forget that you can get a 15% discount by using my promo code: Espen 15
(The discount only applies for new users, or new emails used to sign up 😉
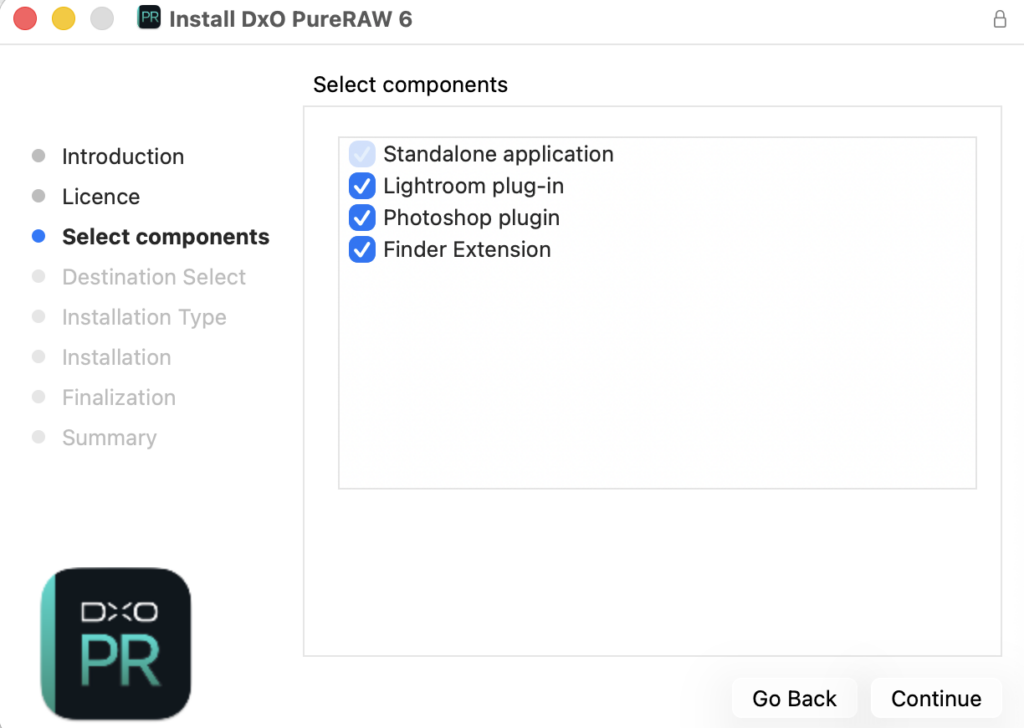
Even though I also use DxO PhotoLab for editing my images I tend to use Lightroom for organising and light editing of my photos. When you install PR6 a plugin can be installed for Lightroom and then you can use this to send photos quickly for denoising.
The advice from DxO is to use PureRAW 6 for denoising and improving the raw file first in the editing process.
Once I find an image I want to edit, I go to the ‘File’ drop down menu at the top of my screen in Lightroom, ‘Plug-in Extras’ and under ‘DxO PureRAW 6’ and choose one of the three options for processing the image.
First let’s use ‘Preview and Process with DxO PureRAW 6’ which will allow us to tweak the individual settings. I tend to only use this option when I’ve used a very high ISO, for most of my images I press ‘Process Instantly with DxO PureRAW 6’.
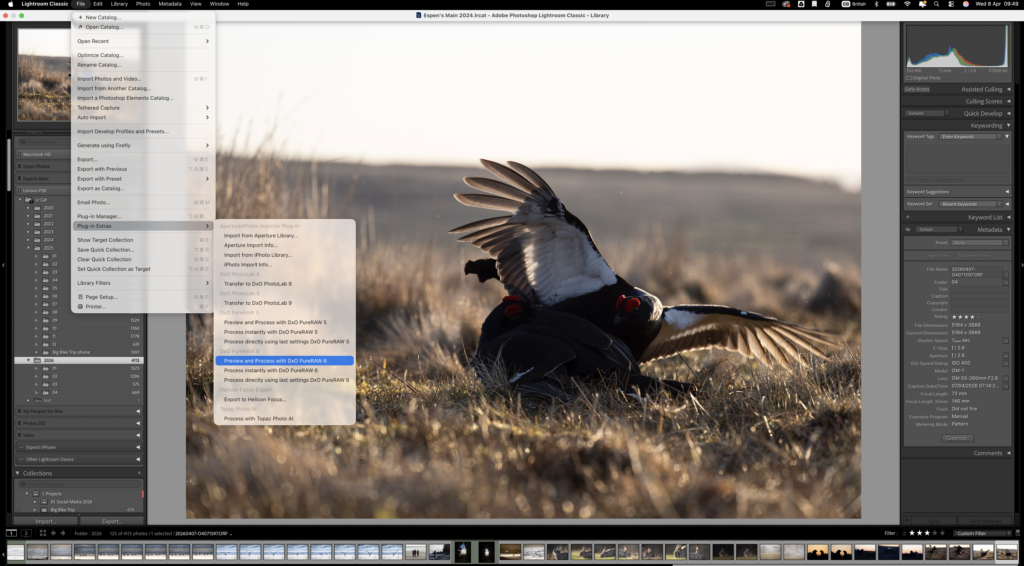
For my OM System images (ORF) I used to only denoise my images when the ISO was above 800. However, as DxO PureRAW 6 also sharpens and applies other tools that make the image look even better and sharper I tend to use DxO PureRAW 6 for all the images I edit. That is unless I’m editing using DxO PhotoLab which will apply these tools to the image within PhotoLab.
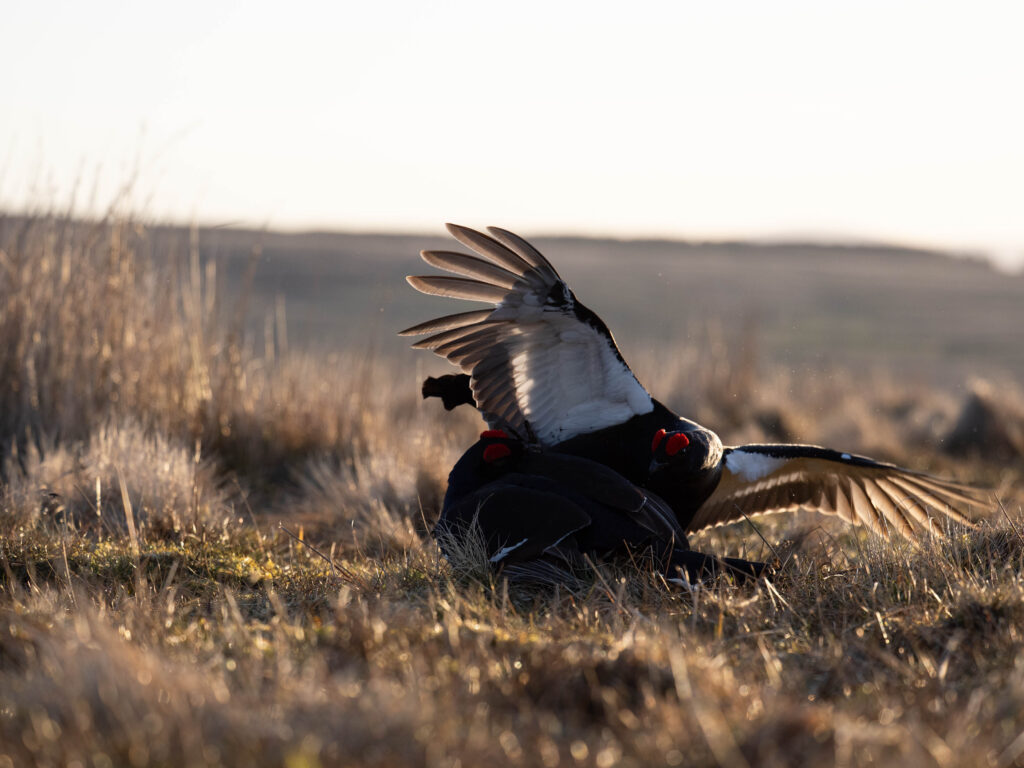
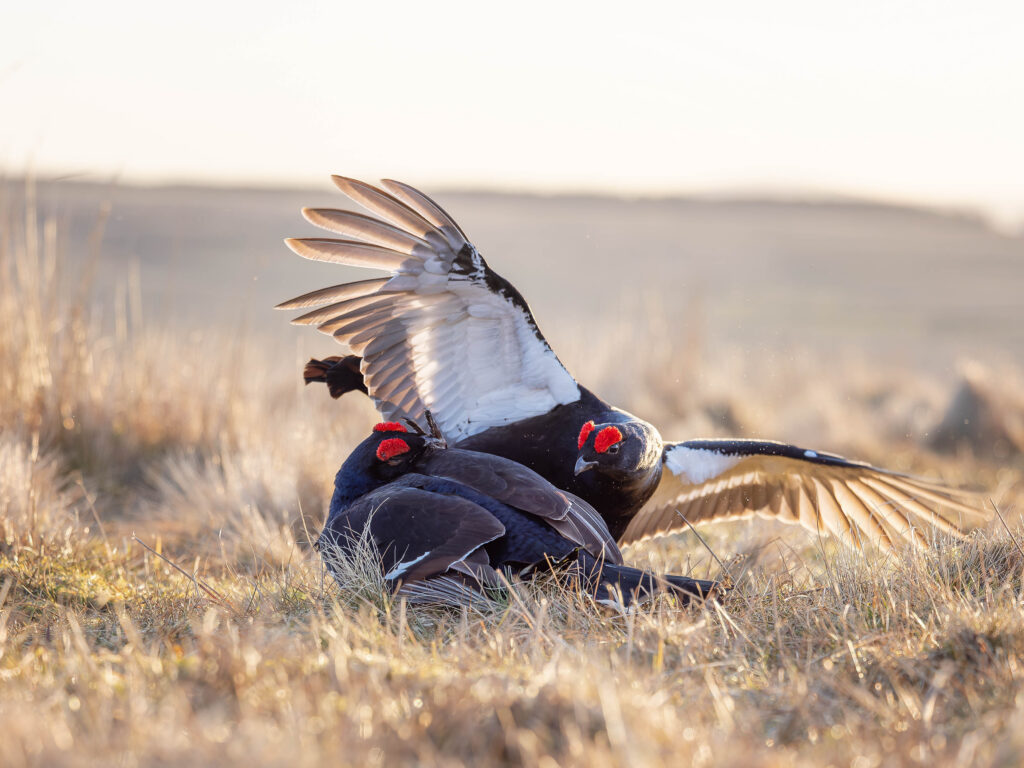
In the image of the black grouse fighting above I’m only using an ISO of 400. However, as I was photographing backlit and the shadows are very dark, I will have to raise the shadows a lot to show the details of the fight. In these cases it’s great to use DxO PureRAW 6 even when I’ve used a relatively low ISO of 400 so as not to introduce much noise when I raise the shadows.
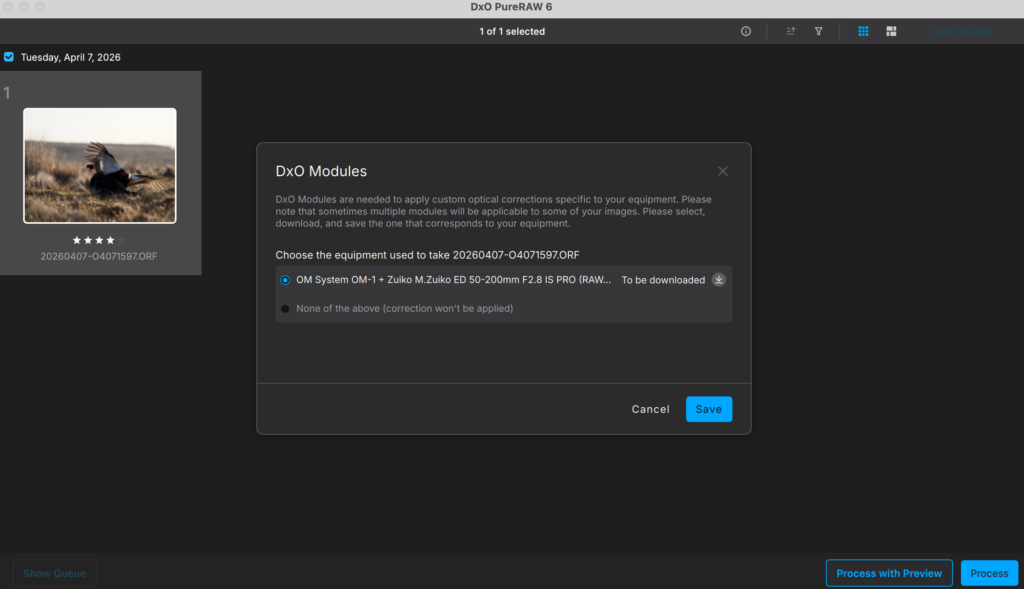
DxO applies custom optical corrections specific to your equipment. This means that if your image was taken with gear that’s supported by DxO (most are) then the first time when processing such an image a module for the gear will need to be downloaded.
DxO will ask this immediately as the image is opened with PureRaw 6 and you just have to press ‘Save’.
When it comes to using DeepPRIME 3 or DeepPRIME XD3 when denoising an image you can read about the exact processes each one uses by hovering over the ‘?’ next to Processing and Denoising. In short the XD3 is the most advanced processing method and it may take longer to process the file. I tend to use DeepPrime 3 for most of my images and only use DeepPRIME XD3 for images taken at very high ISO levels or if I’ve really underexposed an image and need to raise the exposure a lot in post processing.
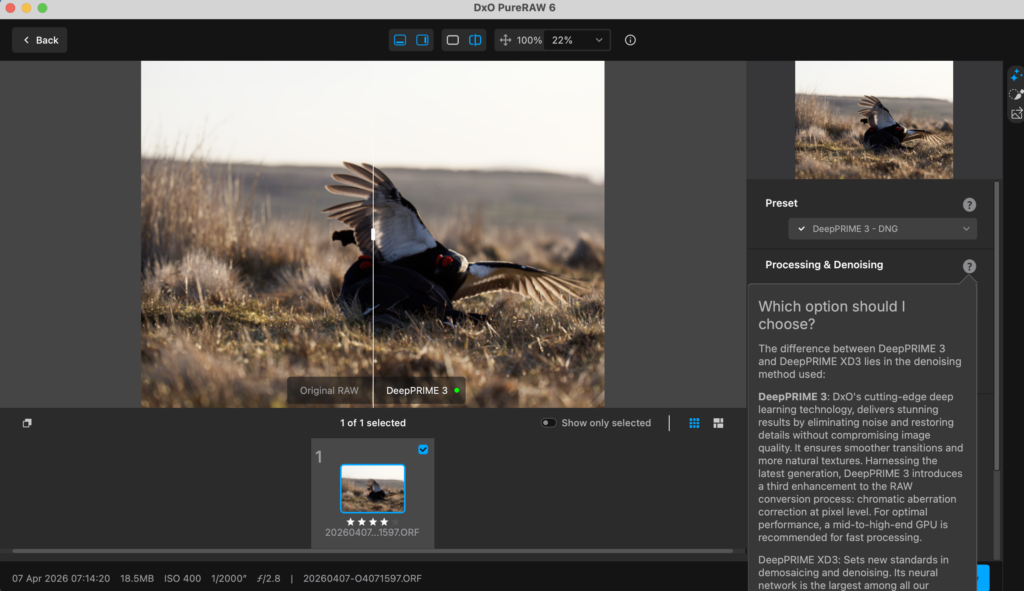
When you first open an image in PureRaw 6 you’ll be presented with the screen below:
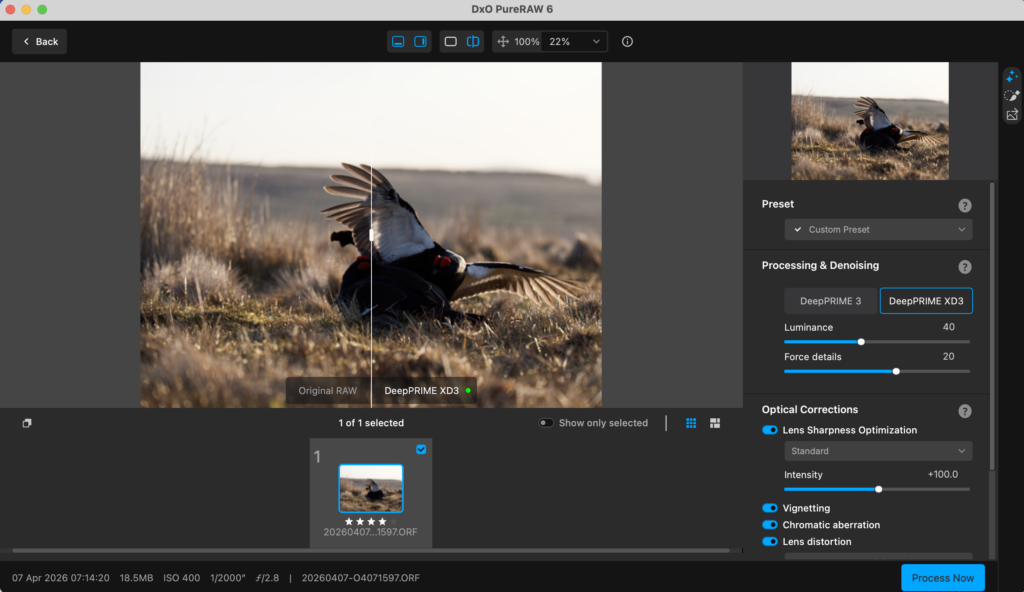
At the very top of the screen you will see various options of viewing the image, as well as zooming in and before and after views. Hover over the icons and a description will appear that lets you know what they do.
On the very right there are 3 options: Image Corrections Settings, Local Adjustments Masks and Output Settings.

Choose between DeepPRIME 3 or DeepPRIME XD3. As mentioned above I use DeepPRIME 3 for all but the images taken with a very high ISO.
For each one there is a Luminance slider which controls the noise and a Force Detail Slider which controls the detail. I wouldn’t go overboard with either of these sliders and for most of my images I leave them at the default.
There are 4 options that you can toggle on/off, give them I try to see if you like what it does to the image. Personally I leave them all on. I think the Lens Sharpness Optimization is especially impressive, zoom in 100% and toggle it on/off to see what I mean!
Finally, there’s the new Dust removal tool. If your sensor has any dust that shows as a spot on your images, use this tool to get rid of them. If you’re unsure, turn it on and use the before/after tool to see if anything is removed.
Here you can create masks if you want to use the denoising tools on only part of the image. Personally, I don’t tend to use this and I’m happy to let the denoising impact the entire image.
On the right side you can create and choose a preset for how you want to process your images within PureRAW 6.
You can select the format that PureRAW 6 will export the images to. I use the new DNG High Fidelity Compression for exporting my images.
The DxO Smart Lighting is a tool I’ve often used when editing images in PhotoLab and it’s great to have the option to use it in PR6 as well. However, I’ve noticed that this tool is not available when choosing DNG as the output format.
I prefer that the new processed DNG file is sent to the ‘Original image folder’.
You can choose various ways of renaming the file name after it’s been processed in PureRaw 6. I prefer to leave it at the default option which is to use the original filename, but add the processing method to the end.
Here you can add a colour profile to the exported image, but again it seems to not work when DNG is selected.
Choose whether you want the image to open in an application after processing.
Choose a Collection within Lightroom that the processed image will be added to. This seems to be something you have to do and the Default is to create a new Collection for each day!
I use Collections religiously for the way I organise my images in Lightroom so I like to tick the box for ‘Put inside a Collection’ and choose ‘Current Collection’. Note that this is only available if you opened the image from a collection in Lightroom in the first place.
A way to stop DxO PureRaw creating a new Collection for every new image it denoises is to create a new Collection for DxO PureRAW 6 images and choose that Collection for importing to.
I prefer to denoise my images with PureRAW 6 in as fast a way as possible, so I prefer to use the Lightroom Plugin and select ‘Process Instantly with DxO PureRAW 6’. This option still gives you most of the important options for settings when denoising as you can see in the screenshot below.
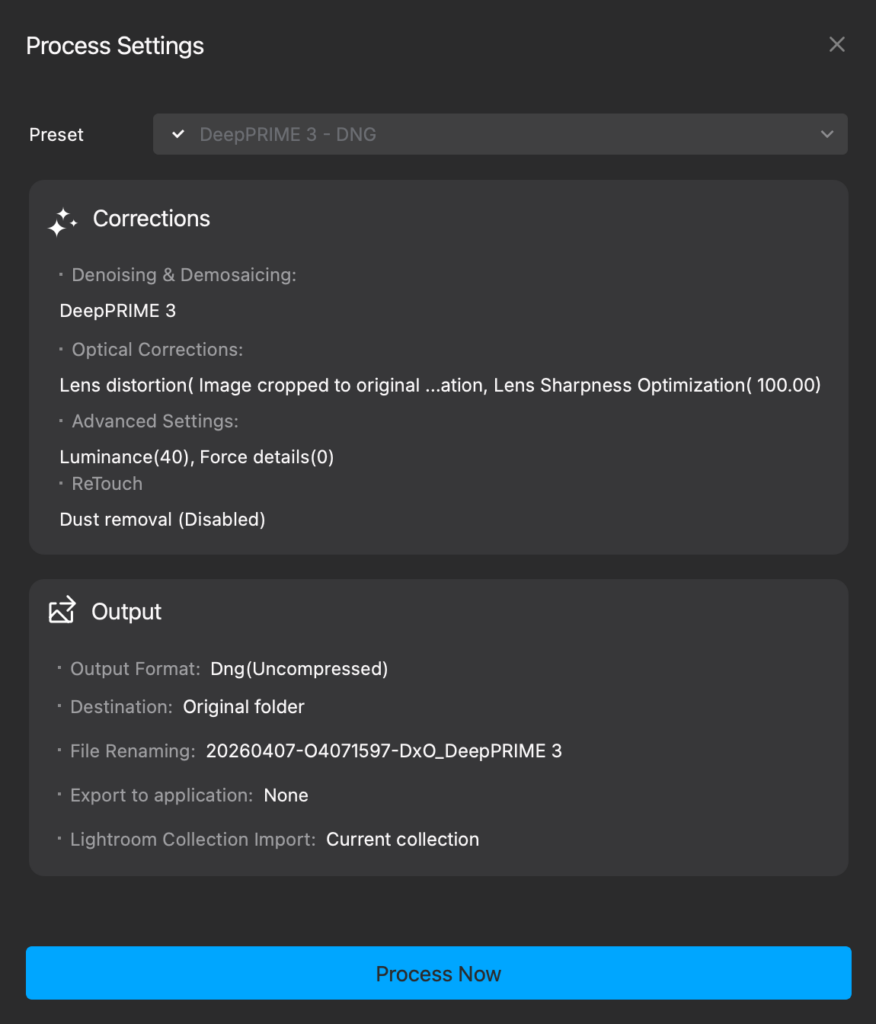
You can press ‘Presets’, ‘Corrections’ and ‘Output’ to get a pop up window with many of the same options available when viewing the image.
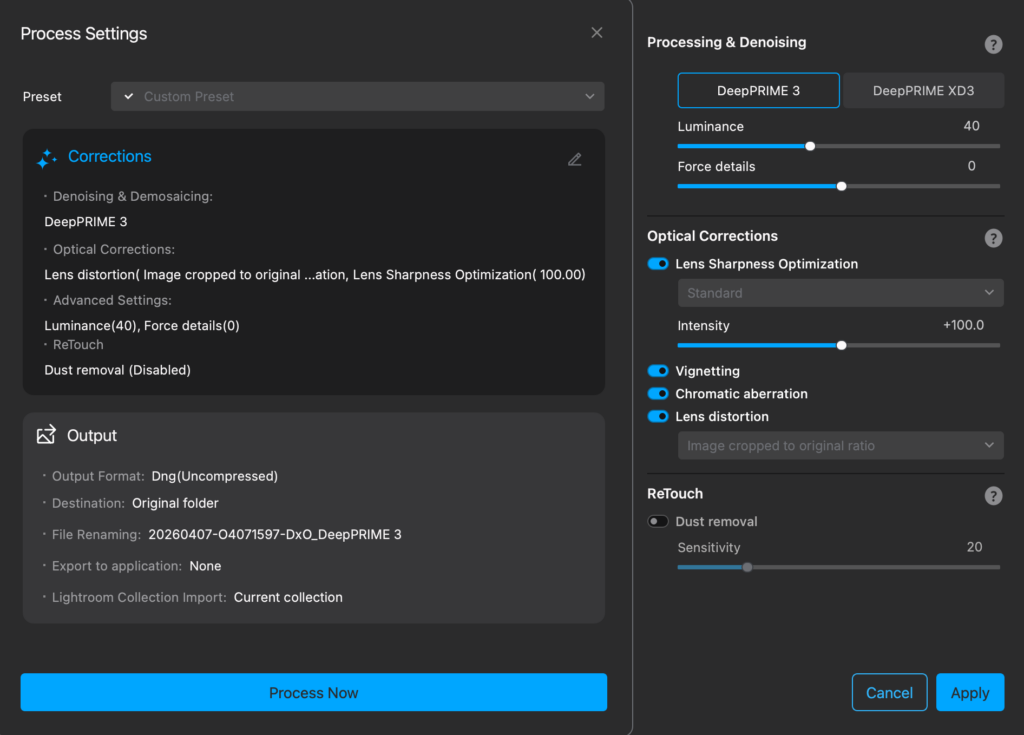
Finally, if you find yourself using the same settings each time you use PureRAW 6 then using the Plug-in that allows you to use the last settings for PureRAW 6 will be the fastest option.


The great thing about DxO products is that you don’t need to get every update that they release. If you’re new to DxO PureRAW or if you’ve missed out on recent updates I can highly recommend PureRAW 6 for denoising your images. The specific Modules for different lenses do a great job at improving each image and the denoising feature is absolutely superb!
The fact that DeepPRIME XD3 works for Olympus Raw Files (ORF) makes DxO PureRAW 6 a great software for denoising images taken with OM System gear.
Get a 15% discount on all DxO products by using my promo code: Espen 15
(The discount only applies for new users, or new emails used to sign up 😉


be the first to comment