
Budget Gear for Wildlife Photography | M.Zuiko 75-300mm f/4.8-6.7 II
Can you make a great photo with budget gear?
We can spend so much money the newest and fanciest gear these days, but do we need it? Can we still create great images with budget gear? I’m a big believer that the photography gear we use is a tool and most of the great images we produce comes more from using our knowledge of composition, light and animal behaviour.

Black Grouse on a lek | OM-1, 75-300mm f/4.8-6.7 II | 187mm, f/6, 1/250s, ISO 2000
Of course, gear plays a role and older cameras and lenses can be limiting in our creative output, but it shouldn’t stop us from getting the absolute most of the gear that we have before we fork out lots of money to upgrade.
In order to put my theory to the test, that we can make great images with budget gear, I set myself the challenge of using the M.Zuiko 75-300mm f/4.8-6.7 II to photograph wildlife. I’ve used it occasionally with my OM-1, but mostly I’ve been using my old E-M1 Mark II camera in order to keep it all budget friendly.
OM System for Wildlife Photography Course
If you’re new to the OM System or just want insights into how I setup my cameras for wildlife photography, do check out my course on the OM System for Wildlife Photography. In the course I dive into all the settings I use and show you how to set it up on the various OM System cameras including the newest OM-1.


Whitethroat on a gorse shrub with a far away hill as background | EM1 Mark II, 75-300mm f/4.8-6.7 II | 300mm, f/6.7, 1/640s, ISO 250
The 75-300mm f/4.8-6.7 II can be purchased new from OM System for £549.99, but you can also get a creat used deal for under £300.
You can pick up a used E-M1 Mark II for less than £400
So what’s the difference between a lens for £550 and a lens for £6500?
The main differences are the quality of glass and how fast it is.
When photographers talk about how fast a lens is, it relates to the f-stop and how much light the lens lets in. The lower the f-stop the more light you let into the sensor and this allows you to shoot with faster shutter speeds, which is good to freeze action!
But a lower f-stop also helps to create bokeh, which is the soft out of focus backgrounds and foregrounds you often see in photos that helps make the subject stand out in the frame.
But here’s the thing, a low f-stop isn’t the only factor when it comes to out of focus backgrounds and foreground and really making those images pop!
Red Squirrel (I’m close to the squirrel and the background is more than 2x further away| EM1 Mark II, 75-300mm f/4.8-6.7 II | 300mm, f/8, 1/80s, ISO 800
Although there are many factors that makes up a fantastic image, and many things you need to start thinking about to become a good wildlife photographer. I believe that getting the subject to stand out in your frame is the first and biggest jump you can make to making better photos.
In this post I’ll show you some techniques to blur out the background and foreground to get images where the subject pops in the frame even with budget gear.
Steps for creating bokeh (blur)
Low f-stop and longest zoom
First choose the lowest f-stop that your lens can go to and use the longest zoom of your lens. On the M.Zuiko 75-300mm f/4.6-6.7 the furthest reach and lowest f-stop is f/6.7 at 300mm (though is is a 4/3, which on a full frame equivalent is x2, so 600mm or 12x zoom)

Treecreeper on a birch (the background is a distant tree, shrubs and sky) | EM1 Mark II, 75-300mm f/4.8-6.7 II | 300mm, f/6.7, 1/1000s, ISO 400
Choose further away backgrounds
By starting to consider the background of the animal you’re photographing you’ll instantly start improving as a wildlife photographer. By not just taking the image from where you stand, but really thinking about your approach to an animal.
Seeing what angle you need to approach from to get a background that’s far away and ideally one that complements the subject. A blue or white sky is usually a very boring background, an out of focus dark forest however can really complement your subject and the overall feel of your image.
Even making micro adjustment to make sure a branch or other clutter just behind the bird is removed from your frame can make a world of difference.

Red Squirrel (I’m close to the squirrel and the background is more than 2x further away| EM1 Mark II, 75-300mm f/4.8-6.7 II | 300mm, f/6.7, 1/640s, ISO 250
Get close to the animal
You want to be at least 1/2 the distance as your subject is from the background
If you can get close to your subject, your background doesn’t need to be as far away as if you’re not that close to your subject.
This isn’t written in stone, but a handy little rule to keep in mind is that you ideally want to be 1/2 the distance or closer from you to the subject as the subject is from the background. E.g. 2m from you to the subject = 4m or more from the subject to the background!
If you can get closer, the more bokeh or blur you will get and the more your subject will pop in the frame.

Black Grouse on a lek before dawn | OM-1, 75-300mm f/4.8-6.7 II | 221mm, f/6.3, 1/13s, ISO 1000
Lie Down
This is because if you take a photo while looking down on the animal, your background becomes the ground immediately behind your subject. However, if you lie down the background becomes whatever the background further away is. Getting down low also gives you an eye to eye view of the animal your photographing, which is usually results in a much more pleasing image.
Remember the previous steps. Even if you lie down there might be grasses, shrubs or a mound immediately behind your subject, so you still need to position yourself carefully and choose a pleasing further away background.

Black Grouse fighting on a lek - I’m lying in a ground hide | OM-1, 75-300mm f/4.8-6.7 II | 171mm, f/5.9, 1/1000s, ISO 5000
Foreground
The foreground in your image can also be distracting, but we can blur this out in similar ways.
I often like to photograph birds in shrubs such as gorse which gets some really nice yellow flowers in spring. I make sure to get some yellow gorse as my foreground to blur it out.
Something to be aware of is that if the foreground is too close to the subject it won’t be blurred out, and if the foreground is very close to your lens it might cause a lot of the frame to be slightly blurry and affect the subject itself.
Aim for a foreground that’s about half-way between you and the subject or slightly closer to you - experiment!
Below are two images of a whitethroat on a gorse shrub. The first one I took by carefully considering my background, making sure to pick a background that was much further away, with nothing distracting in it. In the second image I similarly considered my background, but I also moved into position so that I could use another gorse that was in between me and the bird as my foreground.
I made sure not to be too close to my foreground, because it might blur my subject as well. I also made sure the foreground wasn’t too close to the subject, because then it would almost be sharp and most likely be a distraction in the final image.
I think they’re both nice images, but my eye is definitely drawn more to the second image with the blurred out foreground.

Whitethroat on a gorse shrub with a far away hill as background | EM1 Mark II, 75-300mm f/4.8-6.7 II | 300mm, f/6.7, 1/500s, ISO 200

Whitethroat on a gorse shrub with a blurred out foreground | EM1 Mark II, 75-300mm f/4.8-6.7 II | 300mm, f/6.7, 1/640s, ISO 250
Post Processing
To create a little extra bokeh in the background there’s a simple edit you can do in post-processing. I use Lightroom which has come a long way in the latest updates to make editing simpler using layers.
As you can see in the below screenshot, I selected the background of the image in Lightroom, it didn’t get it exactly I had to exclude the tree trunks using the brush.
Then by reducing the contrast, clarity and texture sliders I can make the selected layer softer. Be careful it’s easy to take it too far and it just ends up looking weird. Experiment!

DeNoise and Sharpen
Something that can be smart to invest in no matter what gear you use, but especially when you’re using older or budget gear is a DeNoising and Sharpen software. Lightroom has added some pretty good DeNoising tools, but I still prefer to use a dedicated program for this as I think they create a better result.
I’ve been using Topaz DeNoise AI and Sharpen AI for years, now, Topaz Photo AI where you get DeNoise, Sharpen and Gigapixel AI all in one. Try out Topaz products free for 30 days before you decide.
However, recently I’ve experimented more with DxO PureRaw 3 and I think I get a better result using this program. I’ve also started to dabble a bit with Nik Collection 5 DxO Color Efex Pro to make some final touches to my images and I really like the results.
Try out DxO free for 30 days to see what you think. DxO constantly gives some excellent promotional deals, so if you like it keep an eye out for a good deal!
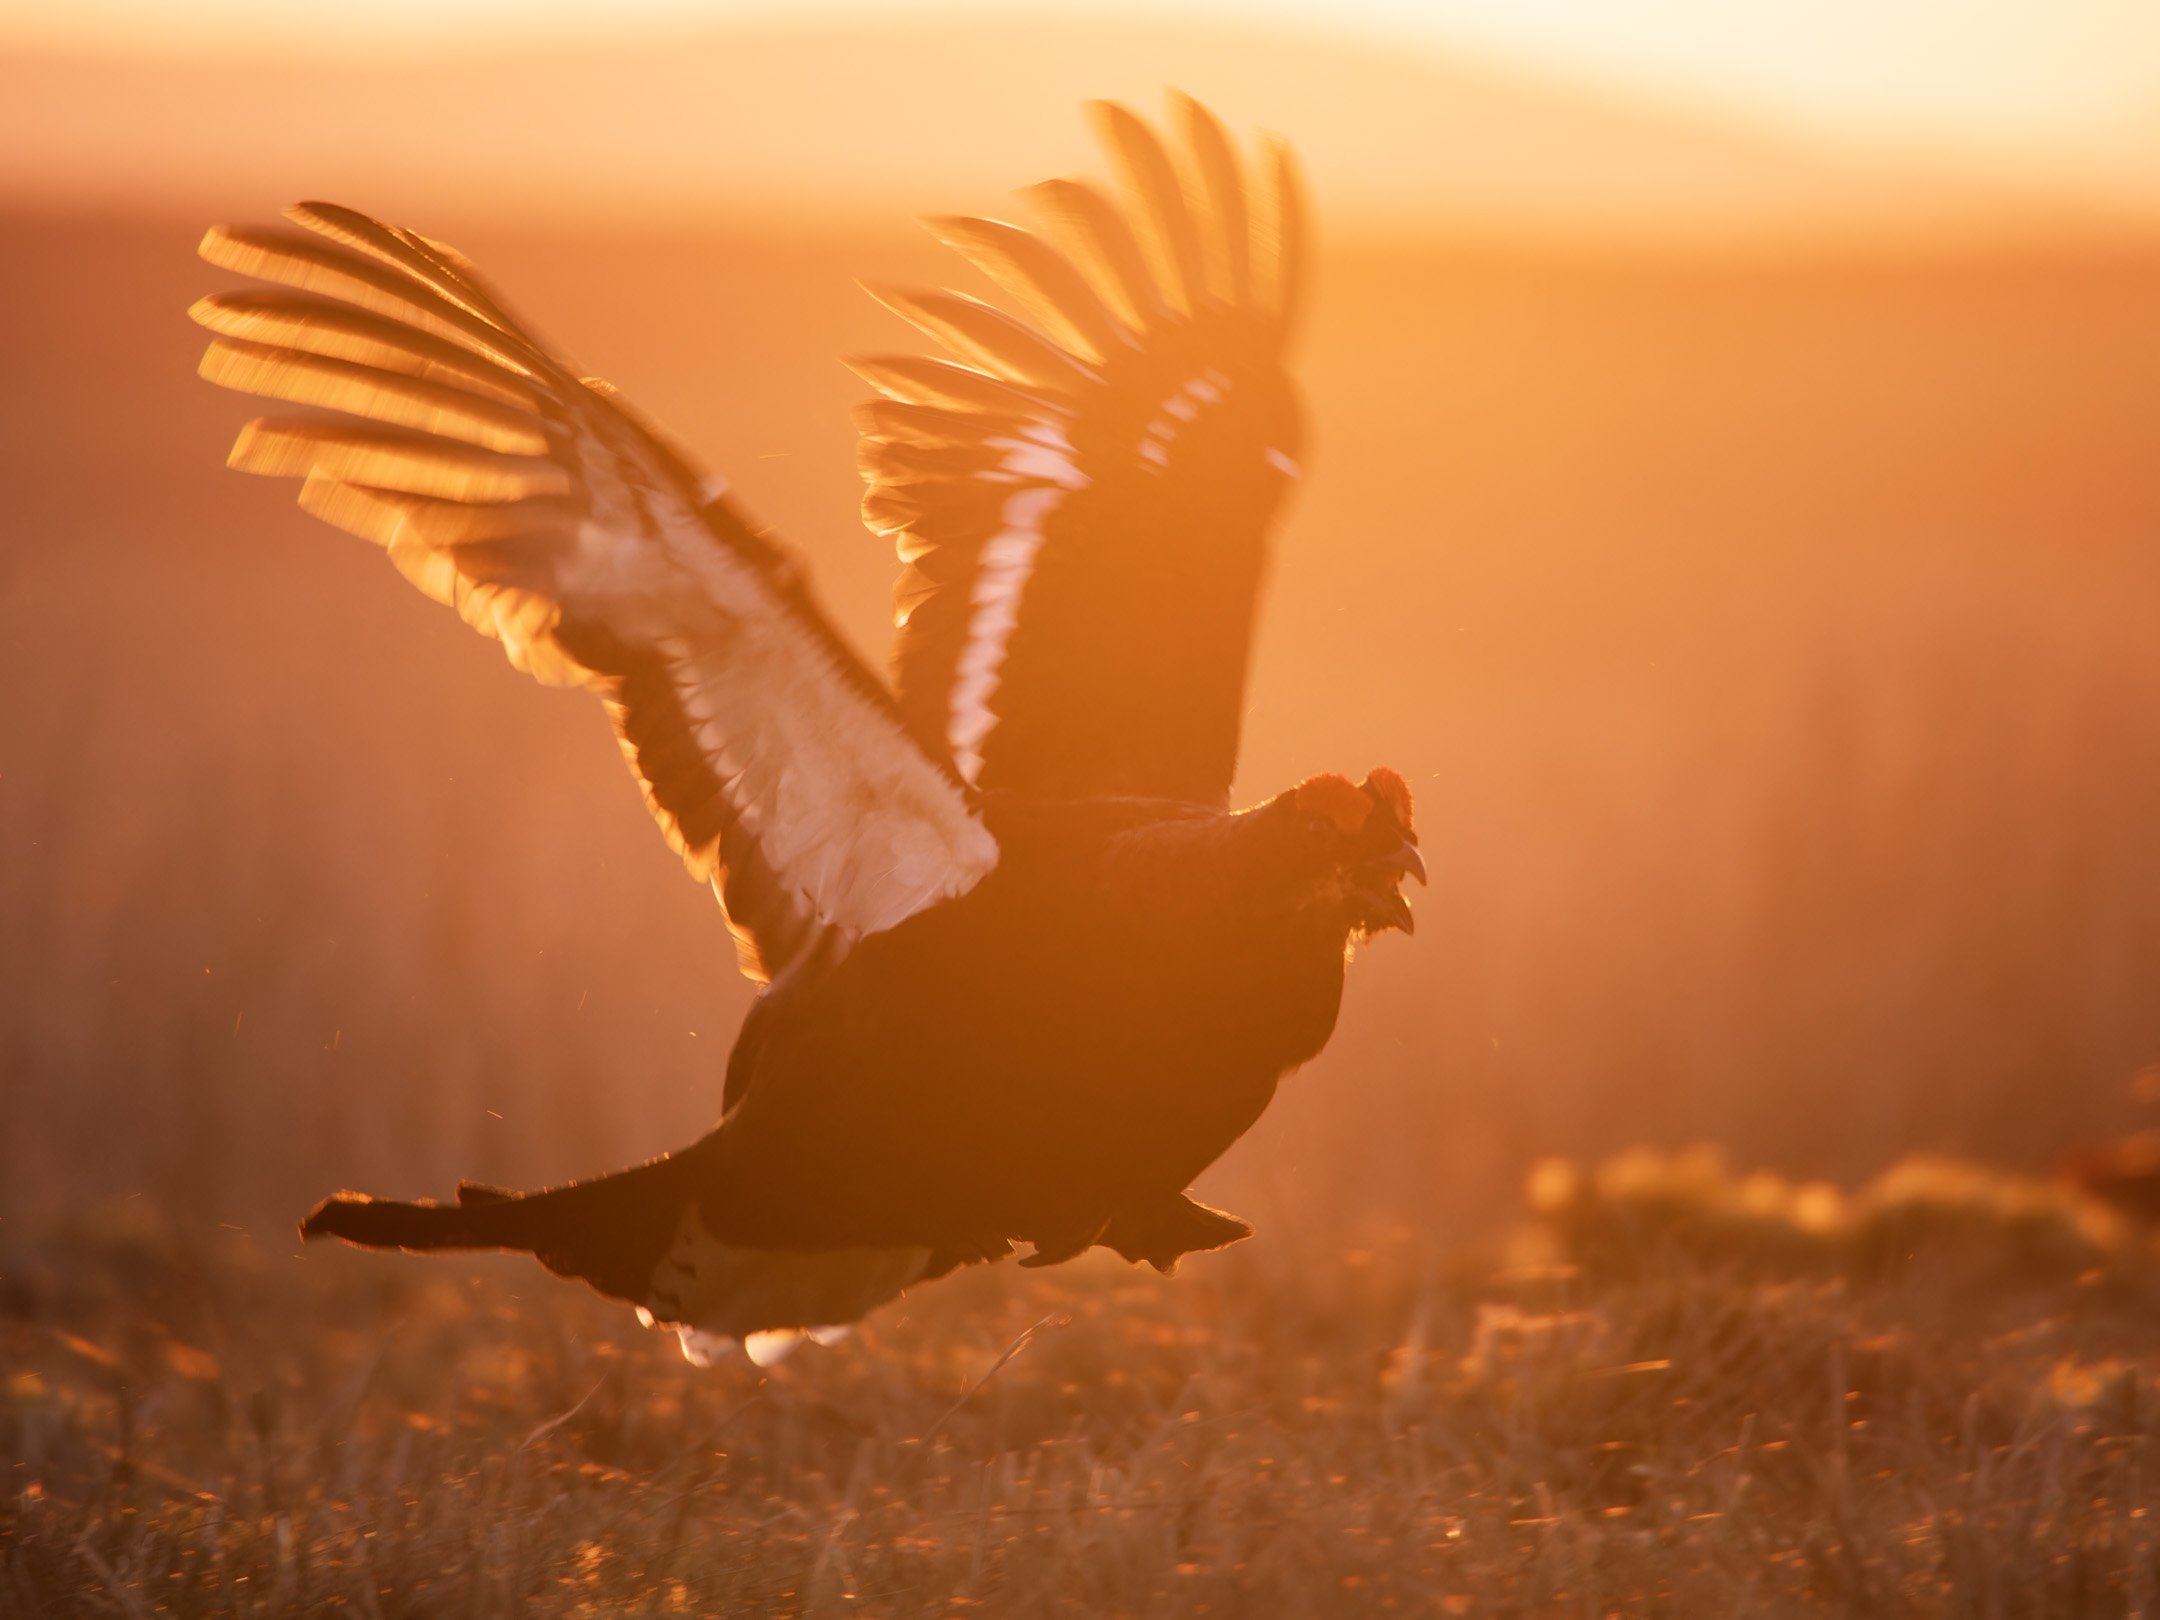
Black Grouse taking flight on a lek | OM-1, 75-300mm f/4.8-6.7 II | 300mm, f/6.7, 1/640s, ISO 1600