


Are you making the most of your Canon 7d presets to save you time in the field? In this blog post I go through how to set your presets on the Canon 7d mark ii so that you can quickly switch to some complicated setups for your camera, when time is of the essence.
The settings I talk about here should be similar on most Canon cameras. If you have a different brand camera you can take a look at your manual on how to adjust the presets.
I shoot a lot more wildlife these days, so check out my video on my updated presets that I use in 2019 below!
I’ll go through some of the options I use for my presets and why I think they’re a good idea to be able to access quickly.
Of course you can tweak your presets so that they’re ready for taking the kind of shots you take on a regular basis.
C1: Wildlife Photography (Fast shutter speed, AI server focus, burst mode)
C2: Bracket shots for HDR (High Dynamic Range)
C3: Timelapse
I use these 3 presets as these are functions I regularly use and they save me significant time in the field!
I like to have my first preset to be set to taking a fast action image, something I often use for wildlife photography. This setting can be a lifesaver and often determines whether I get the shot at all.
For most of my wildlife photography, I shoot in aperture priority so that I control what is in focus within my composition. Therefore, I set up C1 (preset 1) to Av mode and set my aperture to the lowest my lens allows. As this allows me to blur the background which is often my first option for an image of an animal.
I start with a high ISO of 500 as this will give me a high chance of freezing the moment in a lot of different lighting conditions. If the lighting is good and I have enough time, this is the first setting I would change to as low as possible.
I set my focus to AI servo so that my focus will continually refocus on my subject, and my drive mode to low speed continuous shooting (3fps), so that it’s quiet and won’t disturb my subject.
For this preset I set my white balance to auto as I don’t know what conditions I’ll be facing.
I recommend setting the metering mode to whatever you’re used to – I mostly have mine set to evaluative metering.
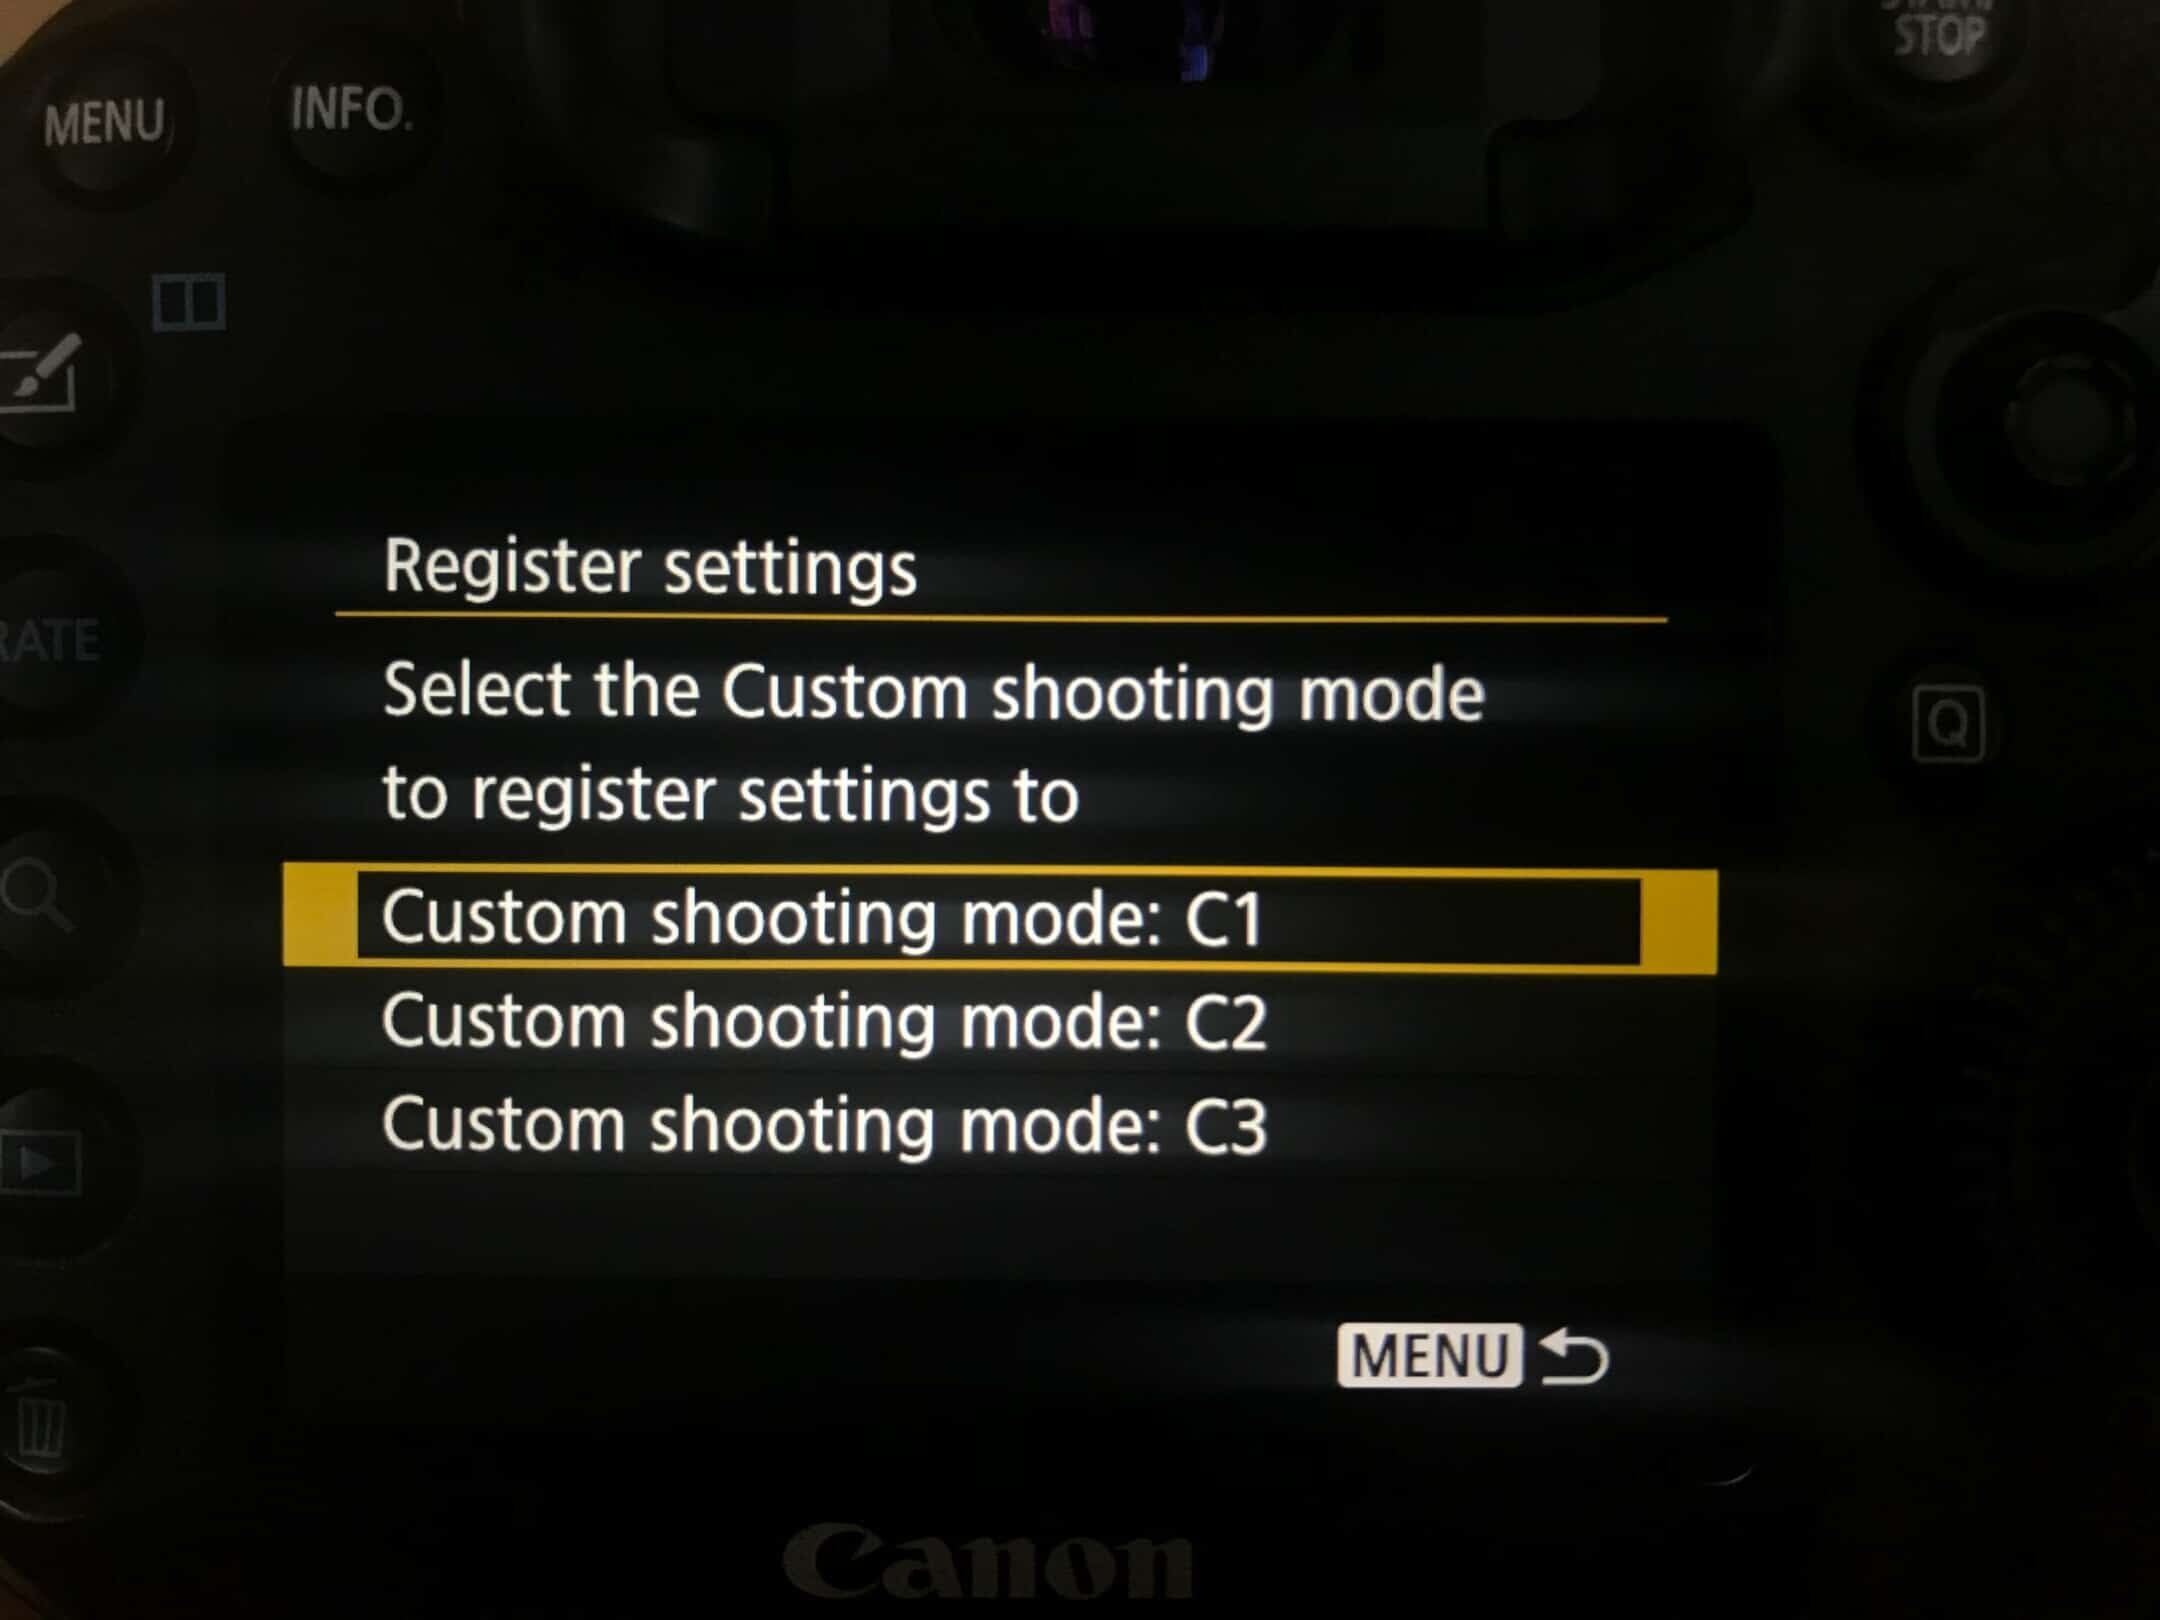
To set C1, turn the mode dial to Av and enter all the settings described above. Then go to the Menu, 4th tab along is the wrench and under the 4th wrench menu, you’ll find: Custom shooting mode (C1-C3) – press set – Register Settings (press set) – select C1 (press set).
And you’re good!!!
Now for the next one 🙂
Having a preset for bracketing shots have saved me a ton of time. This saves you from going into the menu and try to find the setup for bracketing your shots when you’re watching the most spectacular sunrise of your life (maybe).
As for my C1, I’ve also set this to aperture priority (Av). I set the aperture to f16 so that I have a large depth of field to keep most scenes in focus.
My ISO is set to 100 (lowest setting on my camera) as it almost always should be for taking landscape shots on a tripod for best image quality. Auto white balance, one shot focus and a 2-second timer so that I don’t cause shake to my camera when pressing the shutter.
I use 3 bracketing shots, one on the recommended exposure set by my camera, and one stop underexposed and another stop overexposed.
To set C2, turn the mode dial to Av, enter all the settings above. The 3 bracketing shots are set in the Menu – Camera (image) 2nd menu, Called Expo. Comp./AEB (Auto Exposure Bracketing). Press set and use the top dial on your camera to set your desired bracketing setup (mine is -1, 0, +1).
Now, repeat as for C1 – go to Menu, 4th tab along is the wrench and under the 4th wrench menu, you’ll find: Custom shooting mode (C1-C3) – press set – Register Settings (press set) – select C2 (press set).
I love that this camera has a dedicated time-lapse mode, on many other cameras you need special device for setting this up.
I chose to go with Av priority, as many of my time lapses are shot when the light is changing from day to night or vice versa and full manual would not be suitable. So here we go again: Av mode, aperture f11, ISO 100, Auto white balance, one shot focus and 2 second timer shutter button.
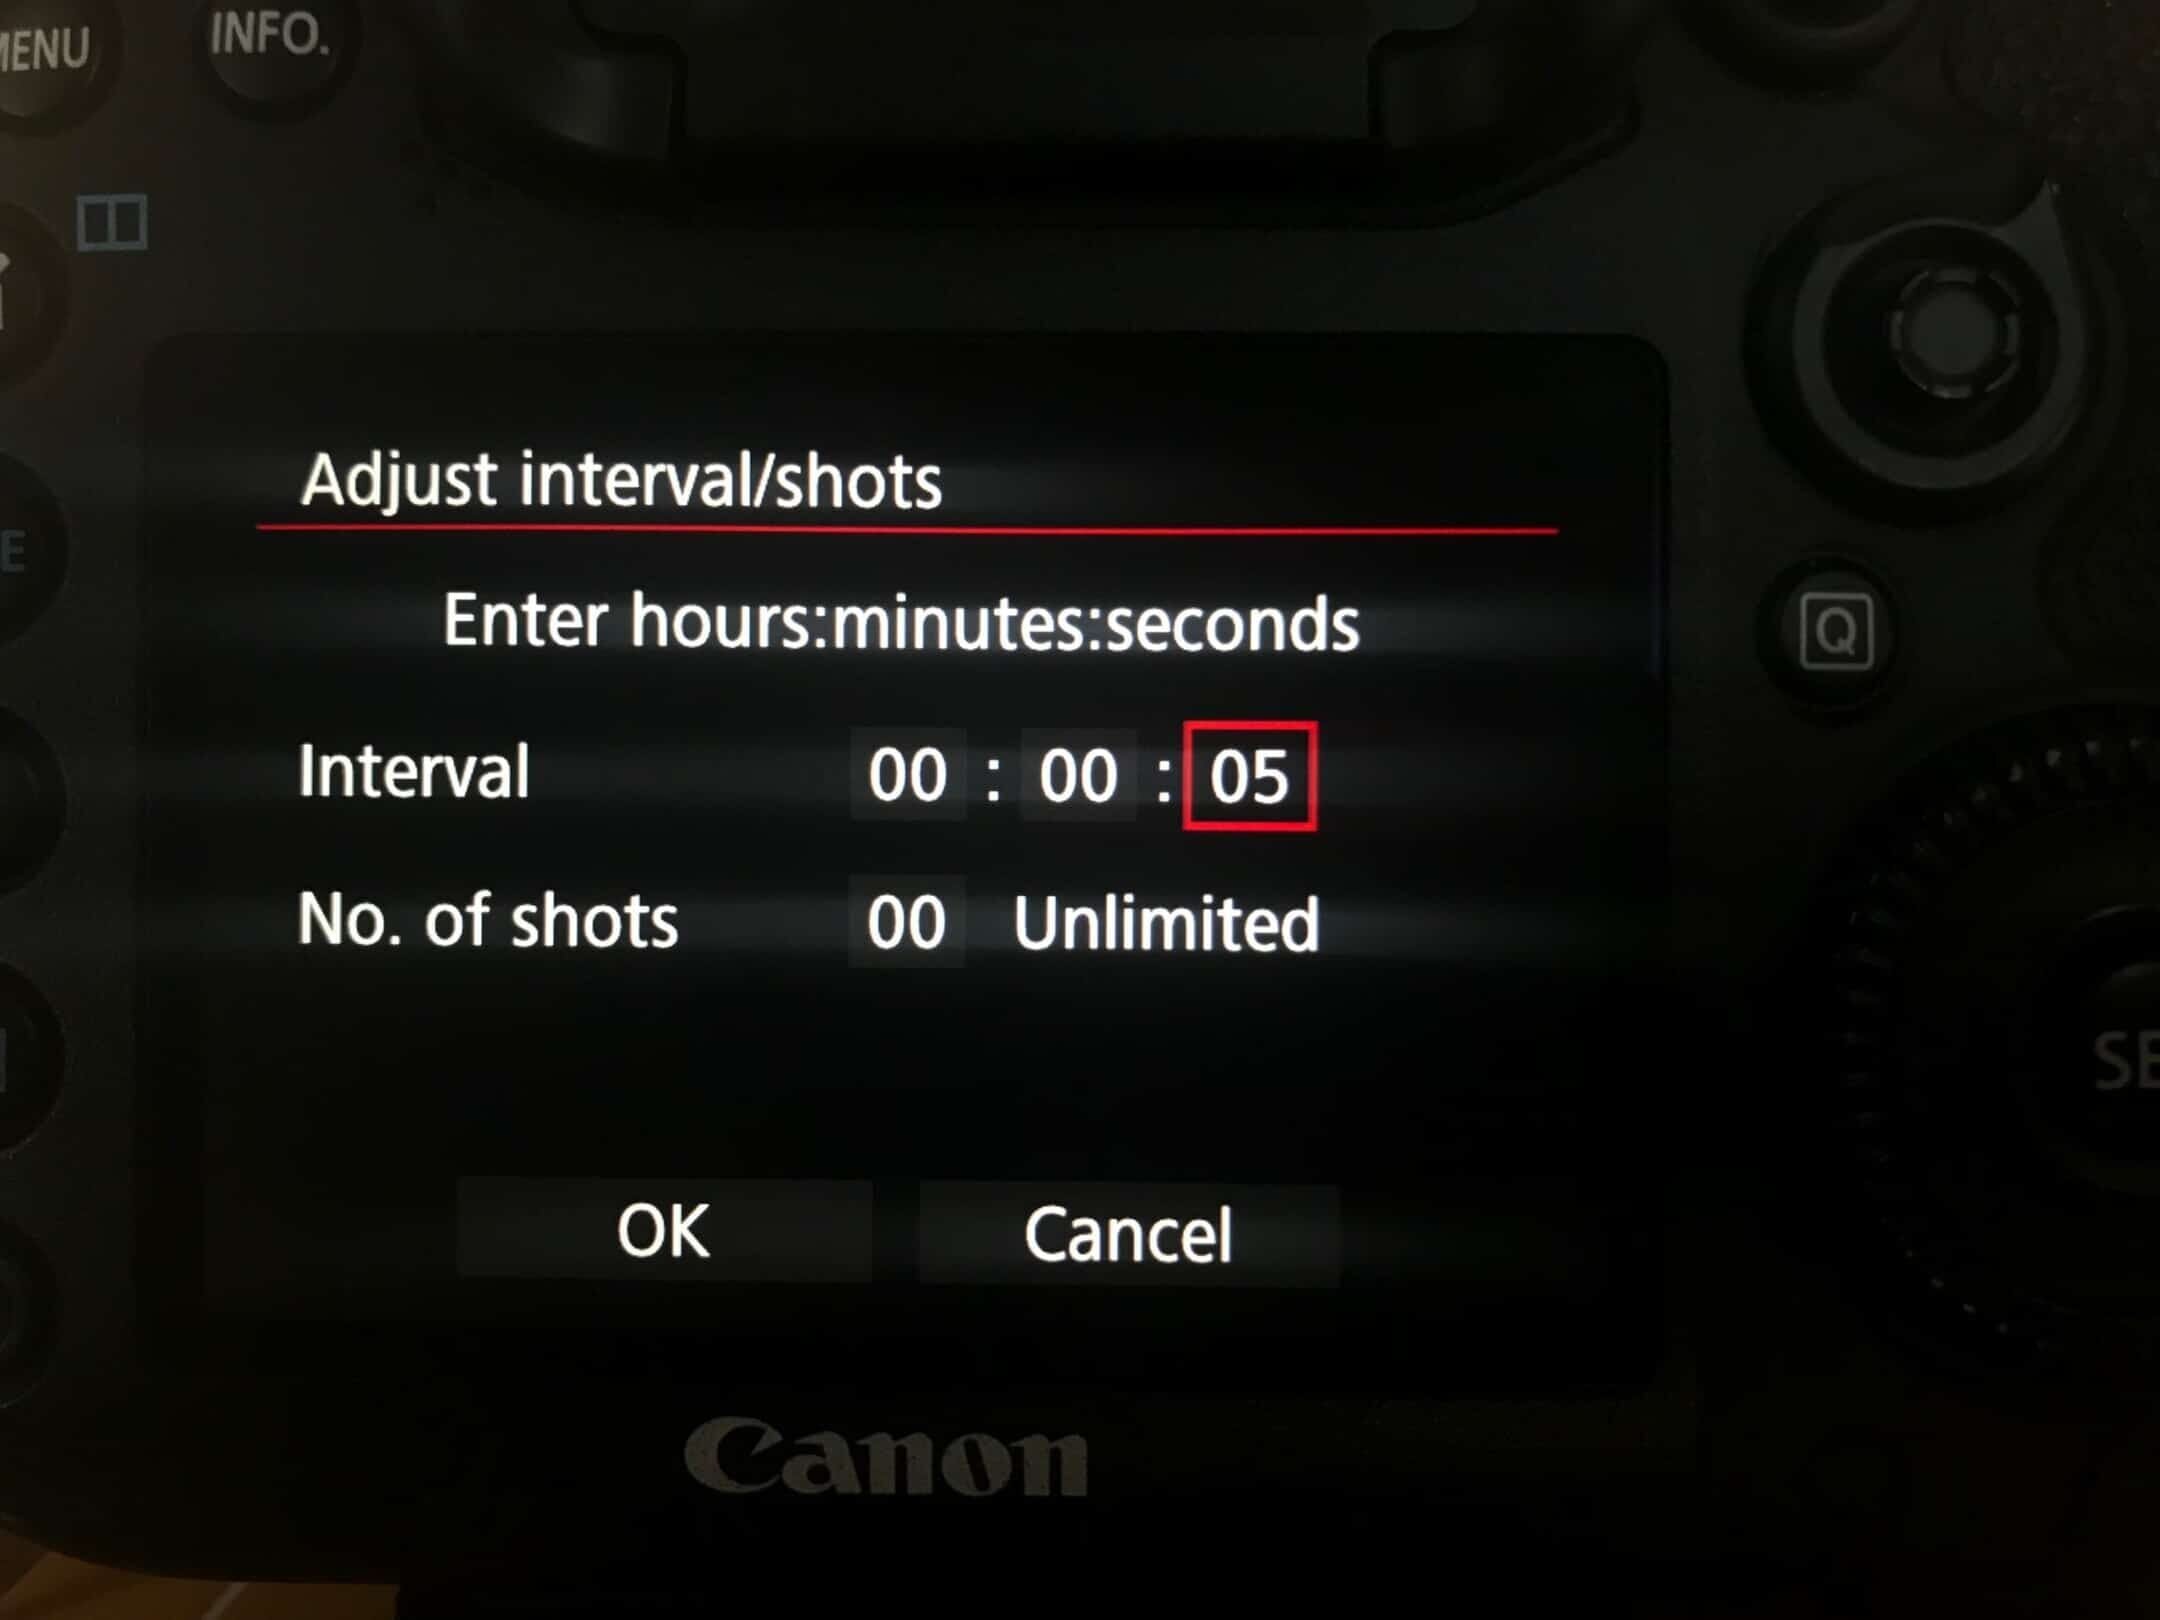
For timelapse setup go to the 4th Camera menu, interval timer and press set. Change to enable, set your interval timer by pressing the info button on your camera.
I have mine set to 5 seconds. Be sure to set the no. of shots to unlimited.
(you stop the time-lapse by switching the camera off)
Now go to Menu, 4th tab along is the wrench and under the 4th wrench menu, you’ll find: Custom shooting mode (C1-C3) – press set – Register Settings (press set) – select C3 (press set).
I hope this guide will get you to use more of the functions on your camera and that it will save you a ton of time when in the field and time is of the essence!!!
Please comment and ask any questions you have.
Top photo by Alex Turner


Great blog I enjoyed rreading